Hello coder, This article presents a simple admin dashboard generated by the AppSeed platform in Flask Framework. The product is published on Github under the MIT license and can be used for hobby or commercial products. The app provides a simple set of features, out of the box and might be a good foundation for your next project. App features:
- UI-Ready - Jinja2 templates
- SQLite, PostgreSQL, SQLAlchemy ORM
- Modular design with Blueprints
- Session-Based authentication (via flask_login)
- Deployment scripts: Docker, Gunicorn / Nginx
- PRO version available: Flask Dashboard Black PRO
Flask Dashboard links
- Flask Dashboard Black - the product page
- Flask Dashboard Black - source code, published on Github
- Flask Dashboard Black - LIVE demo
Intro
A basic introduction of terms for new commers. In case you are familiar with the information presented in this section, please jump to the next one.
What is Flask
Flask is a lightweight WSGI web application framework. It is designed to make getting started quick and easy, with the ability to scale up to complex applications. It began as a simple wrapper around Werkzeug and Jinja and has become one of the most popular Python web application frameworks.
What is a dashboard
A dashboard is a set of pages that are easy to read and offer information to the user in real-time regarding his business. A dashboard usually consists of graphical representations of the current status and trends within an organization. Having a well-designed dashboard will give you the possibility to act and make informed decisions based on the data that your business provides - definition provided by Creative-Tim - Free Dashboard Templates.
Black Dashboard
Black Dashboard is a beautiful Bootstrap4 Admin Dashboard with a huge number of components built to fit together and look amazing. If you are looking for a tool to manage and visualize data about your business, this dashboard is the thing for you. It combines colors that are easy on the eye, spacious cards, beautiful typography, and graphics.
The Environment
As mentioned, the product is built on top of Flask, a popular Python Web Framework. To build the app, Python3 should be installed properly in the workstation. If you are not sure if Python is properly installed, please open a terminal and type python --version. The full-list with dependencies and tools required to build the app:
- Python3 - the programming language used to code the app
- Git - used to clone the source code from the Github repository
If you are a little bit unsure how to set up the environment, might be a good idea to spare a few minutes and read the full documentation provided for this app: Flask Dashboard Black Docs
Check Python (using the terminal)
$ # Check Python version
$ python --version
Python 3.7.2 # <--- All good
Check GIT command tool (using the terminal)
$ # Check git
$ git --version
$ git version 2.10.1.windows.1 # <--- All good
Flask Dashboard - code structure
The code-base generated by the AppSeed platform respects the best practices and tries to keep things as simple as possible. Like all other apps provided by the platform, Flask Dashboard Black comes only with a basic set of features, easy to extend by the anyone that has a basic programming knowledge.
< PROJECT ROOT >                          # application root folder
    |
    |--- app/__init__.py                  # application constructor
    |--- app/base/                        # base blueprint
    |--- app/base/static/assets           # Img, CSS, Janascript files
    |--- app/base/templates               # Jinja2 files (layouts, login pages)
    |                |---<errors>         # Dir - Error pages: 404, 500
    |                |---<login>          # Dir - Login and Registration pages
    |                |---<site_template>  # Dir - Components: footer, sidebar, header
    |
    |
    |--- app/home/                        # home blueprint
    |--- app/home/templates               # Jinja2 files (Pages): index, icons, tables
    |                |---- index.html     # Main dashboard page
    |                |---- maps.html      # Maps page
    |                |---- profile.html   # Profile Page
    |                |---- tables.html    # UI Tables
    |                |---- icons.html     # Ui Icons
    |
    |--- .env                             # store env variables
    |--- config.py                        # app configuration profiles: Debug, Production
    |
    |--- requirements.txt                 # Requirements for development - SQLite storage
    |--- requirements-pgsql.txt           # Requirements for production  - Pgsql Database
    |
    |--- run.py                           # bootstrap the app
    |
    |-----------------------------
Build the dashboard
The first step is to pull the source code in our workstation. This can be done by download the ZIP archive of the code or using GIT to clone the project locally (the recommended way).
$ # Get the code
$ git clone https://github.com/app-generator/flask-black-dashboard.git
$ cd flask-black-dashboard
If GIT is properly installed in our system, the dashboard source code is now available in the flask-black-dashboard directory. Once we have the source code, the next step is to install the modules (aka dependencies). Usually, an application requires a set of modules used to implement the dashboard and our app is not an exception.
$ # Virtualenv modules installation (Unix based systems)
$ virtualenv --no-site-packages env
$ source env/bin/activate
$
$ # Install modules - SQLite Database
$ pip3 install -r requirements.txt
If all goes well, the dependencies listed in the requirements.txt are installed and ready to be used by the application. The next step is to update the environment where the app runs with a few variables used by Flask Framework.
$ # Set the FLASK_APP environment variable
$ export FLASK_APP=run.py
$
$ # Set up the DEBUG environment
$ export FLASK_ENV=development
The first variable FLASK_APP informs Flask what file to execute first (the entry point). The second variable FLASK_ENV is optional, but recommended if we want to DEBUG our application and collect runtime information when something is not working as expected.
Well, let’s see something nice on the screen
The last stet, is to start the app. This can be done with one single command, using the server provided by the Flask Framework:
$ # Start the application (development mode)
$ # --host=0.0.0.0 - expose the app on all network interfaces (default 127.0.0.1)
$ # --port=5000    - specify the app port (default 5000)
$ flask run --host=0.0.0.0 --port=5000
$
$ # Access the dashboard in the browser: http://127.0.0.1:5000/
By default, the app starts on port 5000. In case this port is already in use by another process, just execute the flask command with another value as the argument for the port variable:
$ # Start the dashboard on port 9999
$ flask run --port=999
$
$ # Access the app in the browser: http://127.0.0.1:9999/
If all goes well, we should see the login screen, the application redirects guests users to the login page. Please create a new user using the registration page, and authenticate. Some nice styled pages should be visible on the screen:
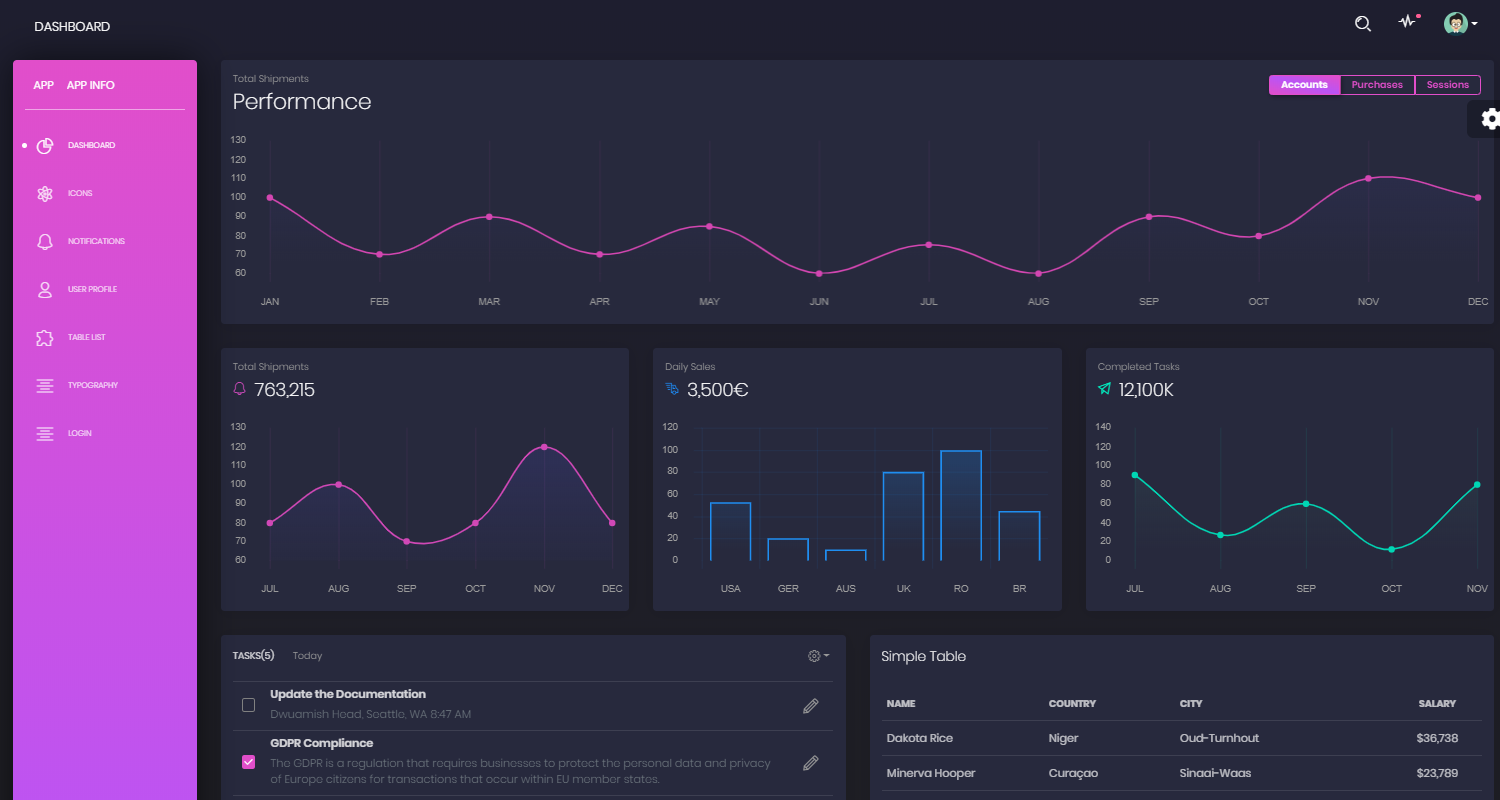
Flask Dashboard Black - Main Dashboard Page
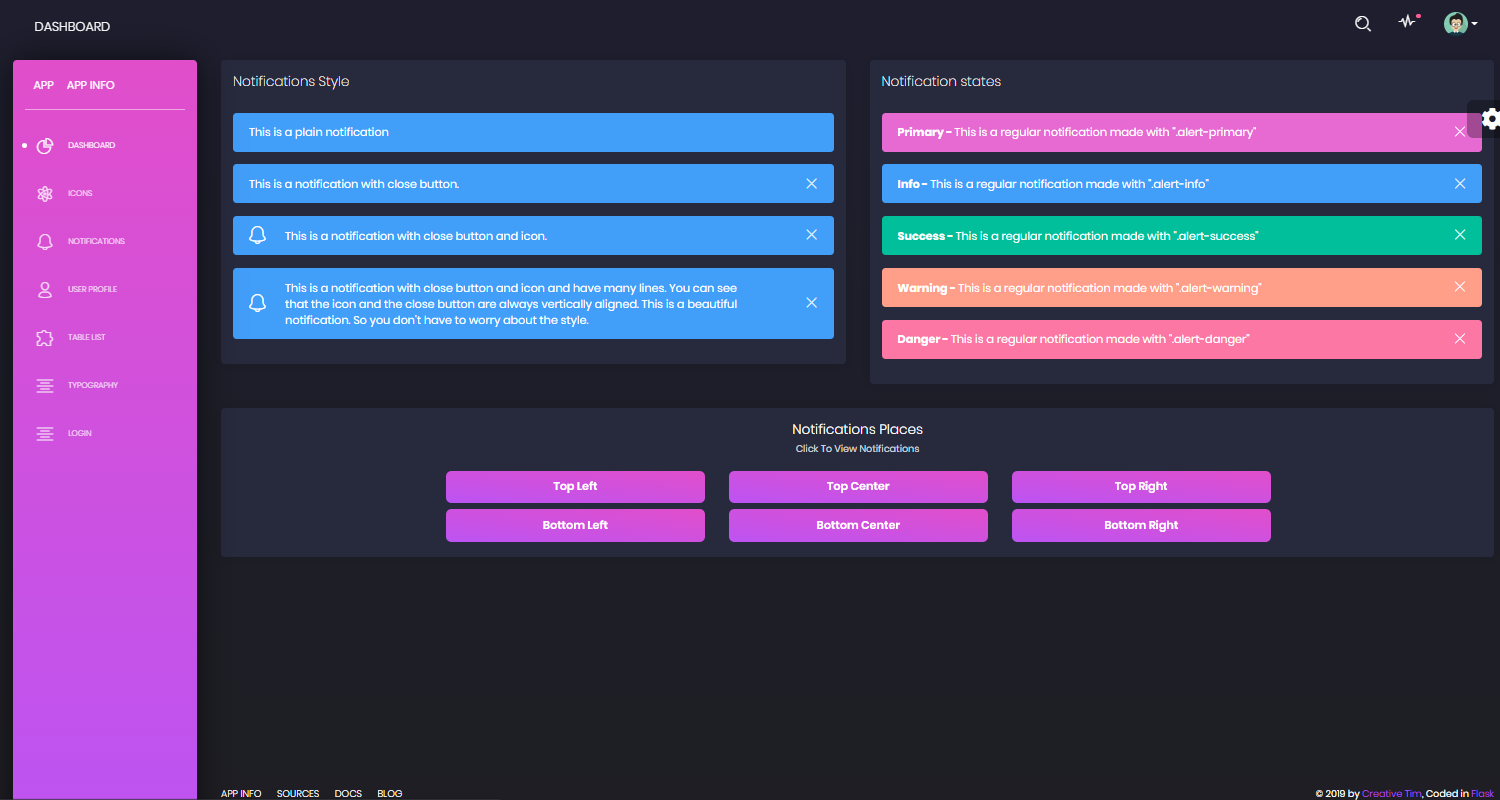
Flask Dashboard Black - UI Kit Notifications
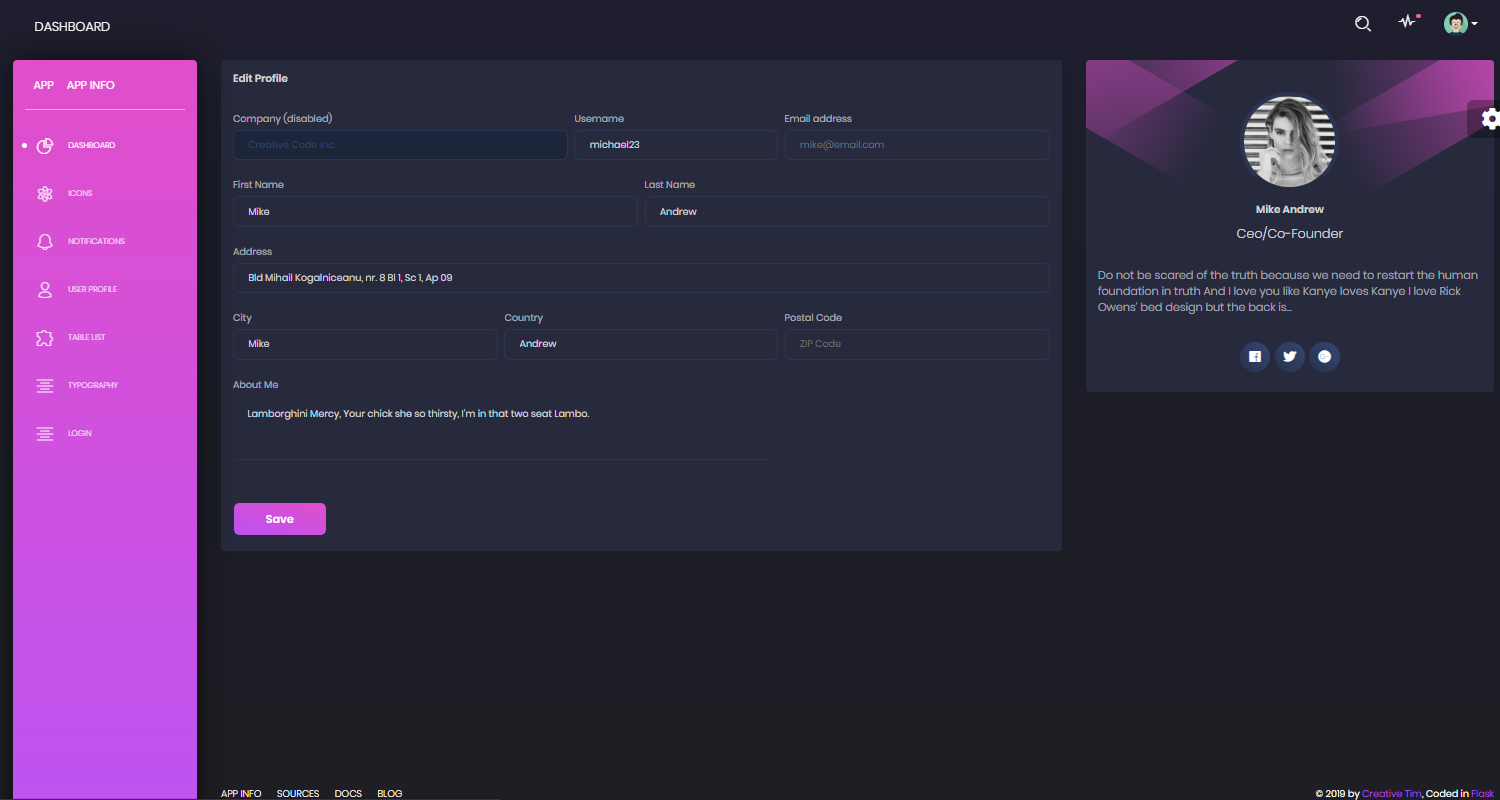
Flask Dashboard Black - User profile page
Where to Go
- Read the full documentation - Flask Dashboard Black
- Click on the LIVE DEMO using the default credentials
- Browse for more open-source admin dashboards - index provided by AppSeed
- Join the AppSeed community on Discord