Hello Coders,
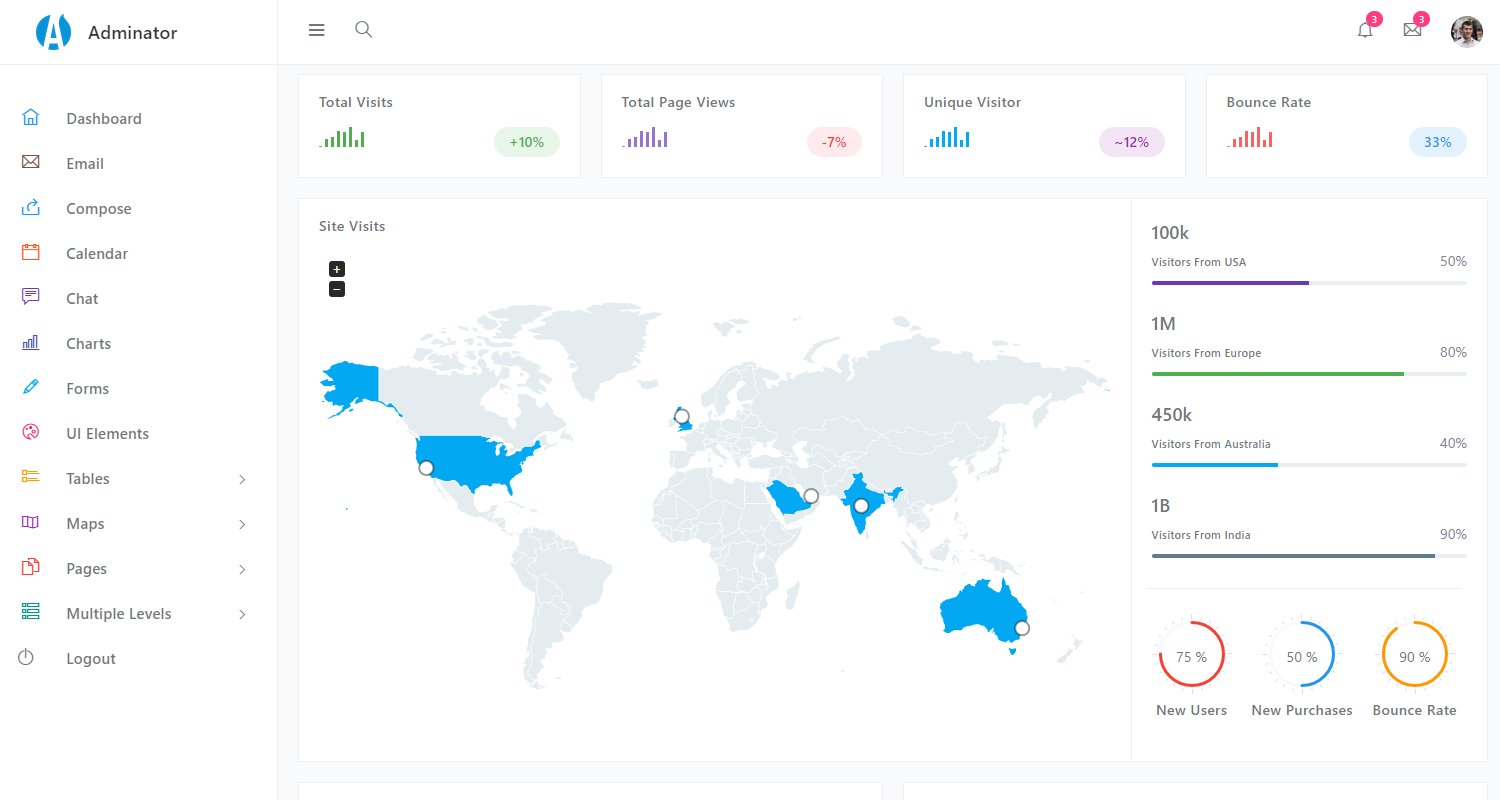
This article presents an open-source admin panel generated in Django Framework by the AppSeed platform on top of a beautiful light design provided by ColorLib agency: Adminator Django Dashboard
The web app, released as an open-source project on Github, offers a few simple features out of the box:
- UI-ready (no need to process manually the HTML)
- SQLite, Django native ORM
- Modular design
- Session-Based Authentication (login, register)
- Forms validation
What is Django (web framework)
Django is an open-source web application framework written in Python. A framework means a collection of modules and helpers that make development easier. They are logically grouped and allow you to create web applications by reusing stuff, instead of writing all from scratch.
Useful Django Resources:
- Django - official website and docs
- Reddit/r/Django - a super active Reddit community
- Django - related content provided by the (popular) Full-Stack-Python platform
Code Structure
Django projects, by default, are modular and quite easy to understand and update. Our project is not an exception and the code-base is split into three modules:
- Core module - used to handle the static assets (JS, CSS, images) and global configuration
- Authentication module - handles the login & users registration
- App module - manage all other actions: serve app pages when users are authenticated and redirect to the login page otherwise. The relevant files are listed in this simple chart:
 # Source code:
 # https://github.com/app-generator/django-dashboard-adminator

 <django-dashboard-adminator>
     |
     |-- requirements.txt # project dependencies
     |-- manage.py        # app bootstrapper
     |
     |-- <core>
     |      |
     |      |---- settings.py # global settings
     |      |---- urls.py     # define the routing rules
     |      |
     |      |---- <static>    # used for assets (js, css, images)
     |      |---- <templates> # HTML templates
     |                |
     |                |-- layouts, includes, pages
     |
     |
     |-- <authentication>
     |      |
     |      |---- views.py # manage Login, registration pages
     |      |---- urls.py  # Auth routing rules (login, register)
     |      |---- forms.py # Define auth forms
     |
     |
     |-- <app>
     |      |
     |      |---- views.py  # load dashboard pages
     |      |---- urls.py   # Define the routing rules
     |      |---- models.py # Define the User model, used by authentication
     |
     |-- ******************************************************************
How to build the code
First step: prepare the environment. To build and use the dashboards we need Python3 (Pyhton2 is no longer supported) installed and (optionally but recommended) GIT command tool. The Github projects can be downloaded also as zip archives, but this is not so efficient and this is the reason to use the GIT command tool instead.
Step #1 - Clone the source code
$ # Get the code
$ git clone https://github.com/app-generator/django-dashboard-adminator.git
$ cd django-dashboard-adminator
Step #2 - Install Modules
Each Python project has some dependencies and modules used in the code, and this project is not an exception. All modules required to have a successful build are located in the requirements.txt file. Let’s install all the stuff using a Virtual environment:
$ # Virtualenv modules installation (Unix based systems)
$ virtualenv --no-site-packages env
$ source env/bin/activate
$
$ # Install modules
$ pip3 install -r requirements.txt
This step will take a while because Python will compile the dependencies locally.
Step #3 - Setup Database
Our free dashboard requires a minimum database set up by creating a few tables used to manage the users and permissions. This phase can be solved with only two commands typed in the console:
$ # Create tables
$ python manage.py makemigrations
$ python manage.py migrate
That was easy, right? Well, using a powerful framework Django in our development, our life becomes much easier based on the fact that many common tasks (like this one) are automated.
Step #4 - Start the app
At this point, we have the app dependencies installed, the database has the necessary tables created, all we need is to see something on the screen.
$
$ # Start the application (development mode)
$ python manage.py runserver # default port 8000
$
$ # Access the web app in browser: http://127.0.0.1:8000/
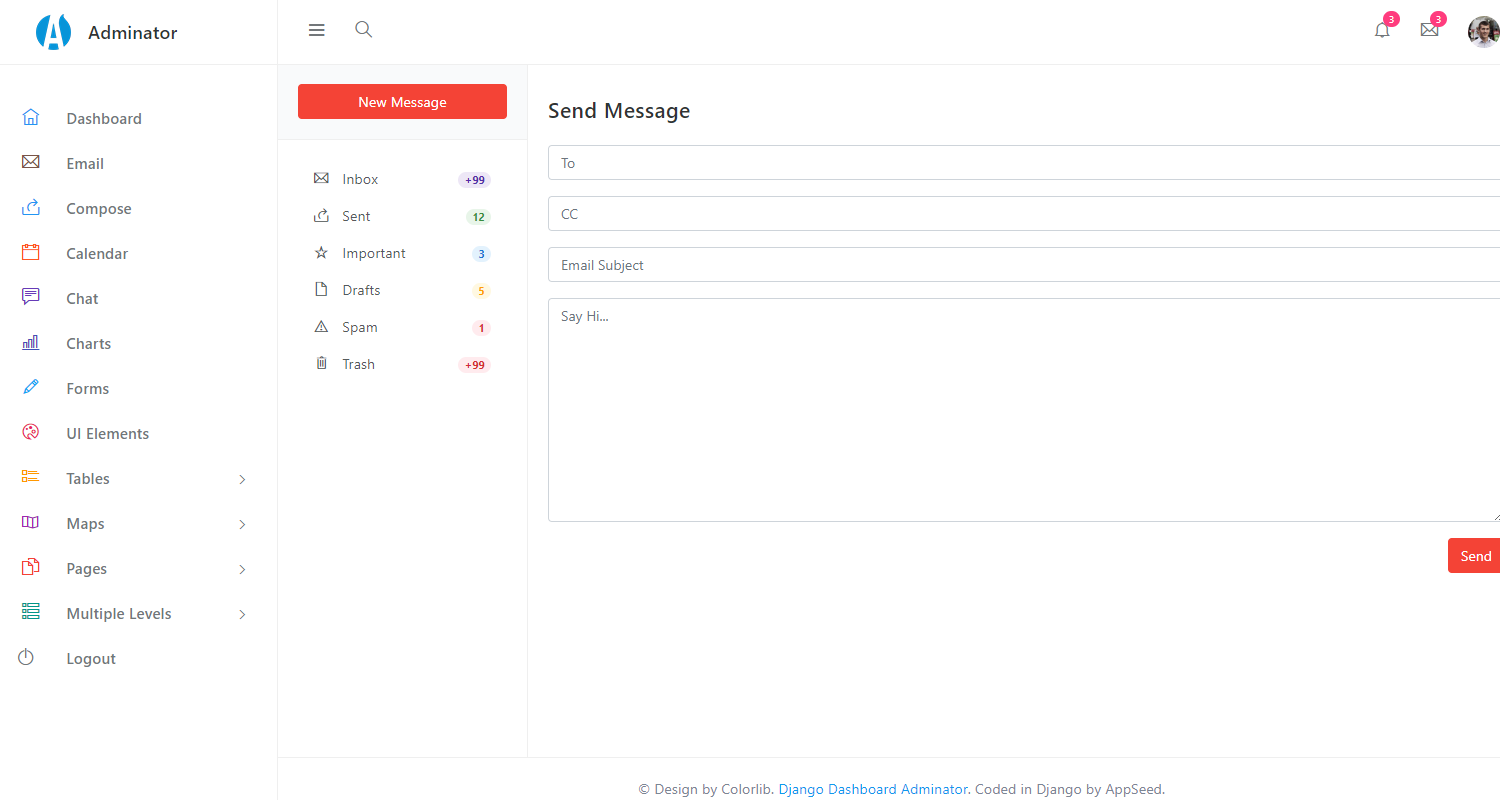
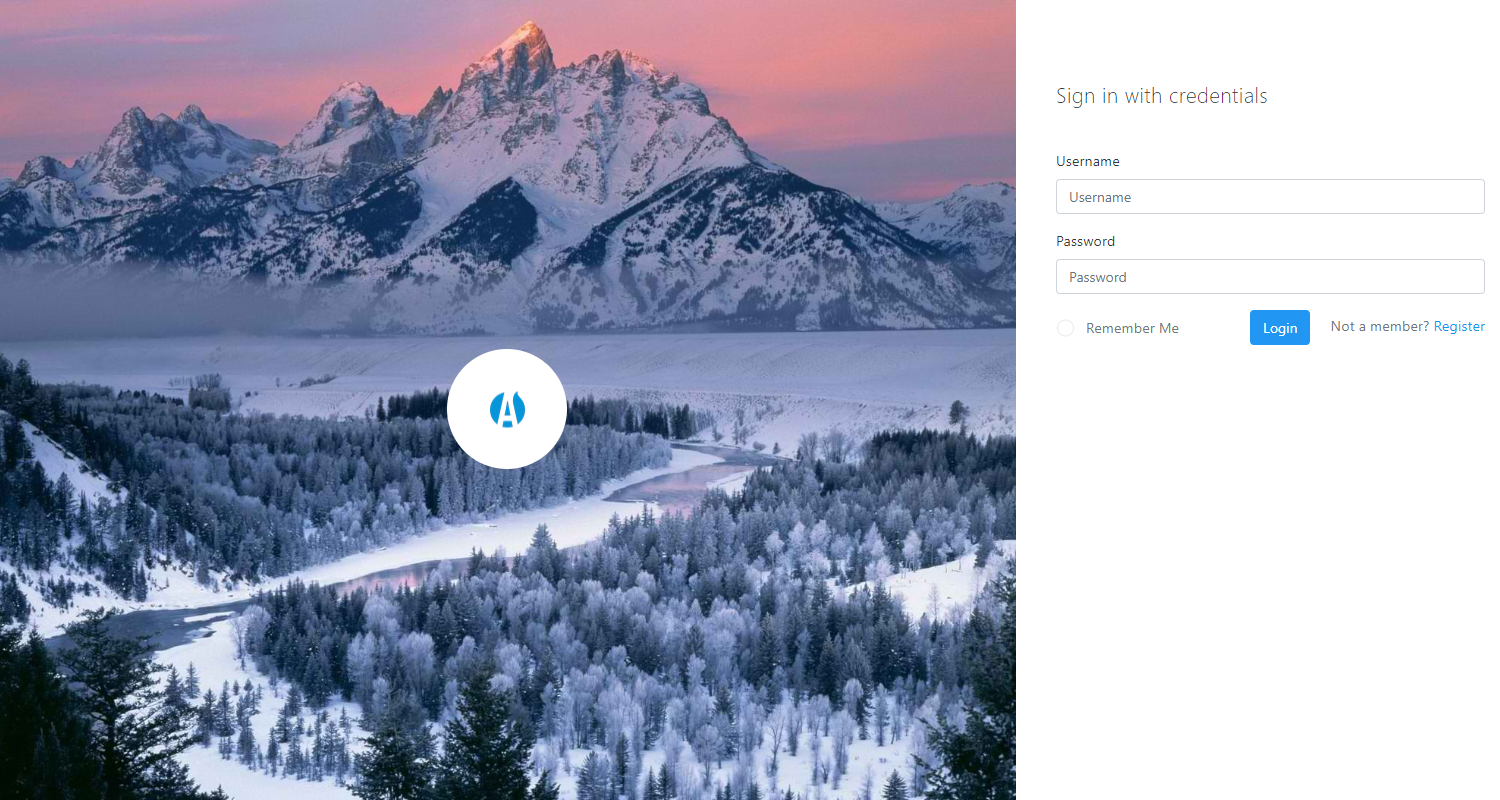
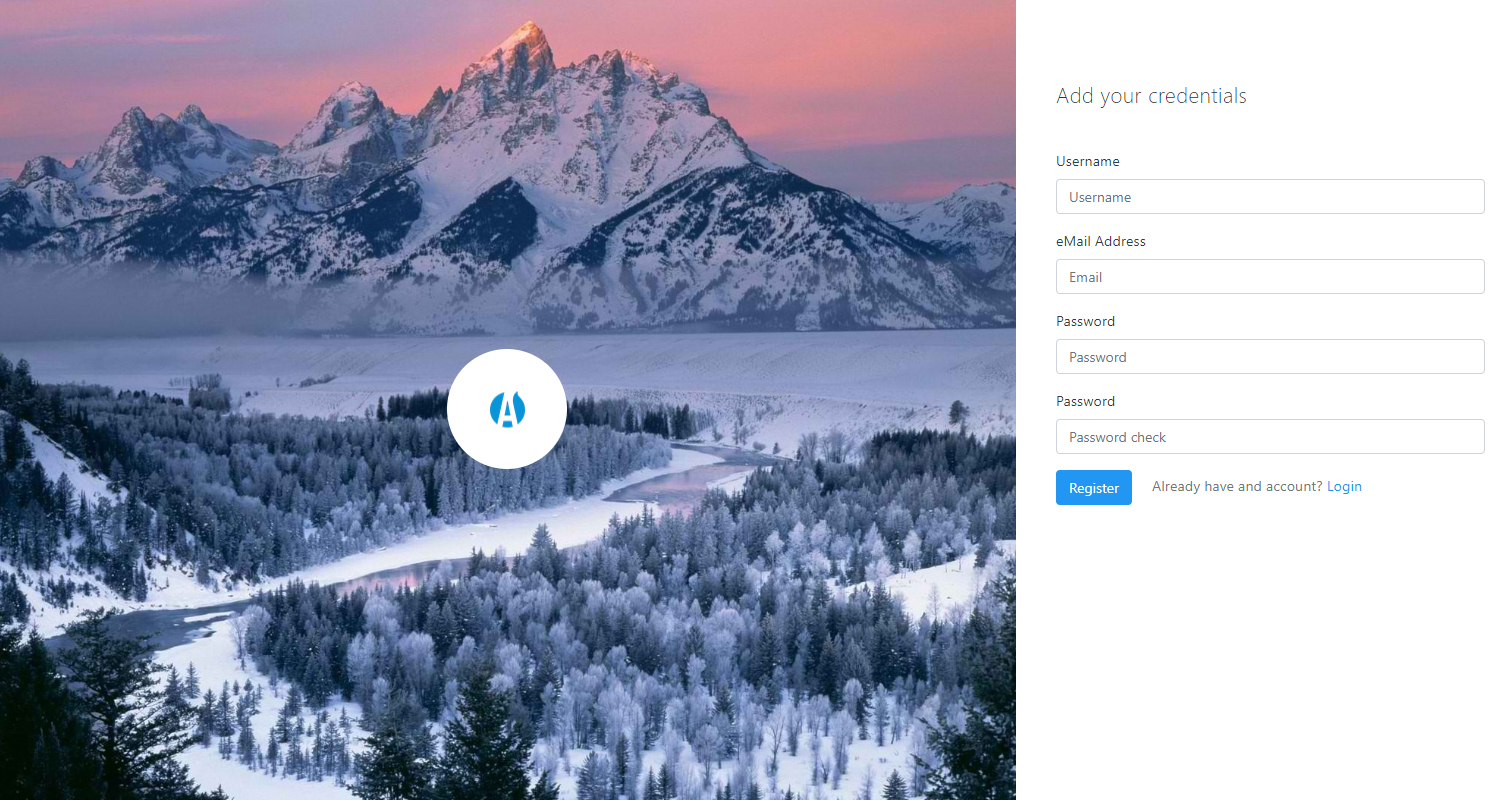
By visiting the app in the browser, we should see the login page. If the registration and authentication actions are successful, the app will unlock the main dashboard page and the contextual menus:

Dashboard App Screens
The app is built on top of a beautiful kit, crafted nicely by Theme Kita agency with rich UI and simple design.
Django Atlantis Dark
Using this admin panel starter, any developer with a basic Python / Django knowledge might code a beautiful usable dashboard app with a few lines of code.

Django Atlantis Adminator
Many free admin dashboards UI Kits are not provisioned with login and registration pages, but this is not the case with this beautiful kit. Atlantis Dark design comes with some beautiful authentication pages.
Login page

Registration page

Resources
- Django Dashboard Atlantis Dark - product page
- Django Dashboard Atlantis Dark - source code
- Open-Source Admin Dashboards - index provided by AppSeed
- More Coded Apps with Light Design - index provided by AppSeed